2026-07-16 · Alex Morales
Ice Maker Not Making Ice? Troubleshooting Tips
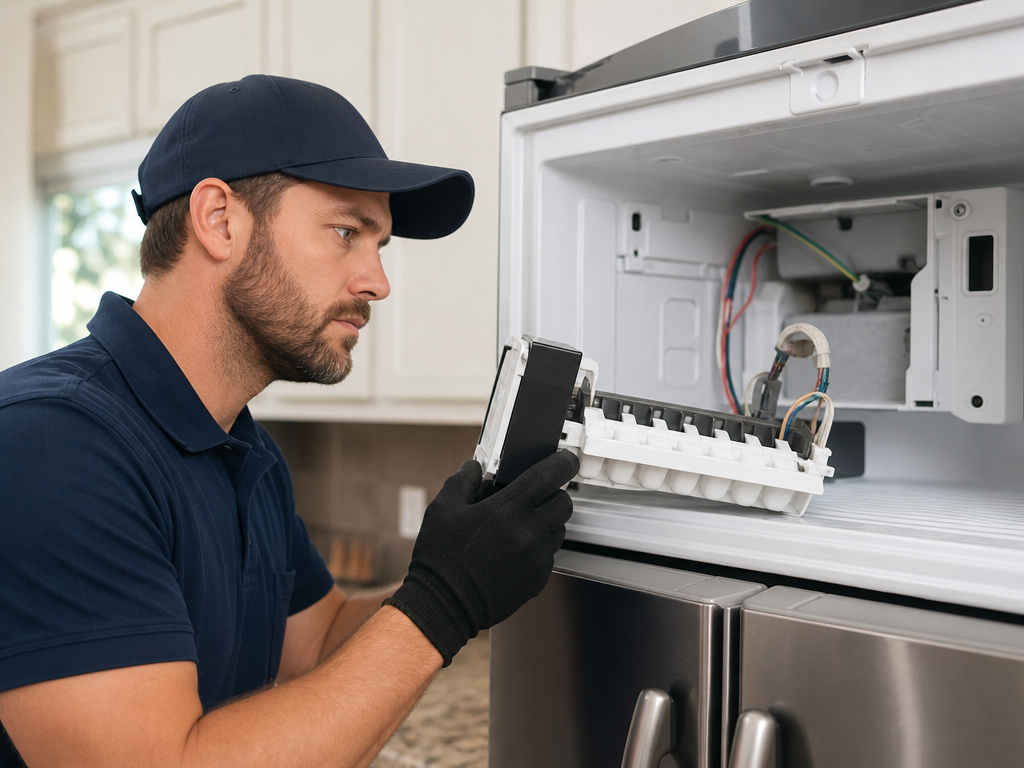
Ice makers stop producing ice most often because of a restricted water line or freezer temperatures above 5°F. Begin troubleshooting by confirming the water supply valve behind the refrigerator is fully open and the line shows no kinks or mineral buildup from Fullerton’s hard water. These two checks resolve the majority of no-ice calls within twenty minutes.
Verify Water Supply and Inlet Valve
Shut off power to the refrigerator and pull it away from the wall to access the water line. Look for a 1/4-inch copper or braided stainless line connected to a saddle valve or compression fitting. Turn the valve clockwise then counterclockwise to clear sediment; if flow remains weak, replace the inlet valve assembly, which costs $45–$85 in parts. In Amerige Heights homes built before 1990, these valves often seize after 8–12 years of service. Flush the line into a bucket until water runs clear before reconnecting. Re-test the ice maker after restoring power and allowing the freezer to reach 0°F again.
Confirm Freezer Temperature Settings
An ice maker requires the freezer section to stay between 0°F and 5°F for reliable cube formation. Use an appliance thermometer placed in the center of the freezer for an accurate reading rather than relying on the dial. Adjust the temperature control in 1-degree increments and wait four hours before rechecking. Fullerton’s mild Mediterranean climate means refrigerators rarely face extreme heat loads, yet dirty condenser coils behind the unit can still raise internal temperatures by 8–10 degrees. Vacuum the coils every six months to maintain consistent performance.
Clean the Ice Maker Assembly
Mineral scale from local water quickly blocks the fill tube and mold tray. Remove the ice bin, then use a soft brush and warm water with mild vinegar solution to dissolve deposits on the tray and sensor arms. Avoid harsh abrasives that scratch the plastic and create future sticking points. After cleaning, run a manual harvest cycle by pressing the test button usually located on the module cover. If cubes still fail to eject, the ejector motor or optical sensor may need replacement, a 20-minute job with parts under $60.
Test the Ice Maker Module and Sensor
The control module governs harvest timing and water fill duration. With the cover removed, check for a blinking LED or error pattern that indicates a failed thermistor or motor. Jump the test points with a flat screwdriver for five seconds to force a cycle; listen for the motor and watch the heater element warm the tray. Side-by-side models common in local kitchens often share the same module design across brands, making parts readily available. Persistent failure after these steps points to wiring or the main control board, both of which require professional diagnosis.
When Professional Service Is Needed
If the water line, temperature, and module all test correctly yet no ice forms, schedule a technician visit. Fullerton Appliances holds license A48272 and operates Monday through Friday 8am–6pm, Saturday 9am–2pm from its Amerige Heights location. Technicians carry common modules and valves on the truck for same-day resolution in most Downtown Fullerton and nearby neighborhoods. For side-by-side refrigerator repair details, visit the side-by-side refrigerator repair page. Readers facing related drainage issues may also find the dishwasher troubleshooting guide useful for similar diagnostic logic.